Ever had an image that you want to share on Pinterest but you don’t want it to be visible on your blog? I am going to show you how to achieve this, with a little bit of HTML code you can start sharing hidden images today.
Pinterest is a great way to drive traffic to your blog. Using this method you can create images specifically for the network for example; a long image, or an infographic. These images will link back to your post without appearing on the page.
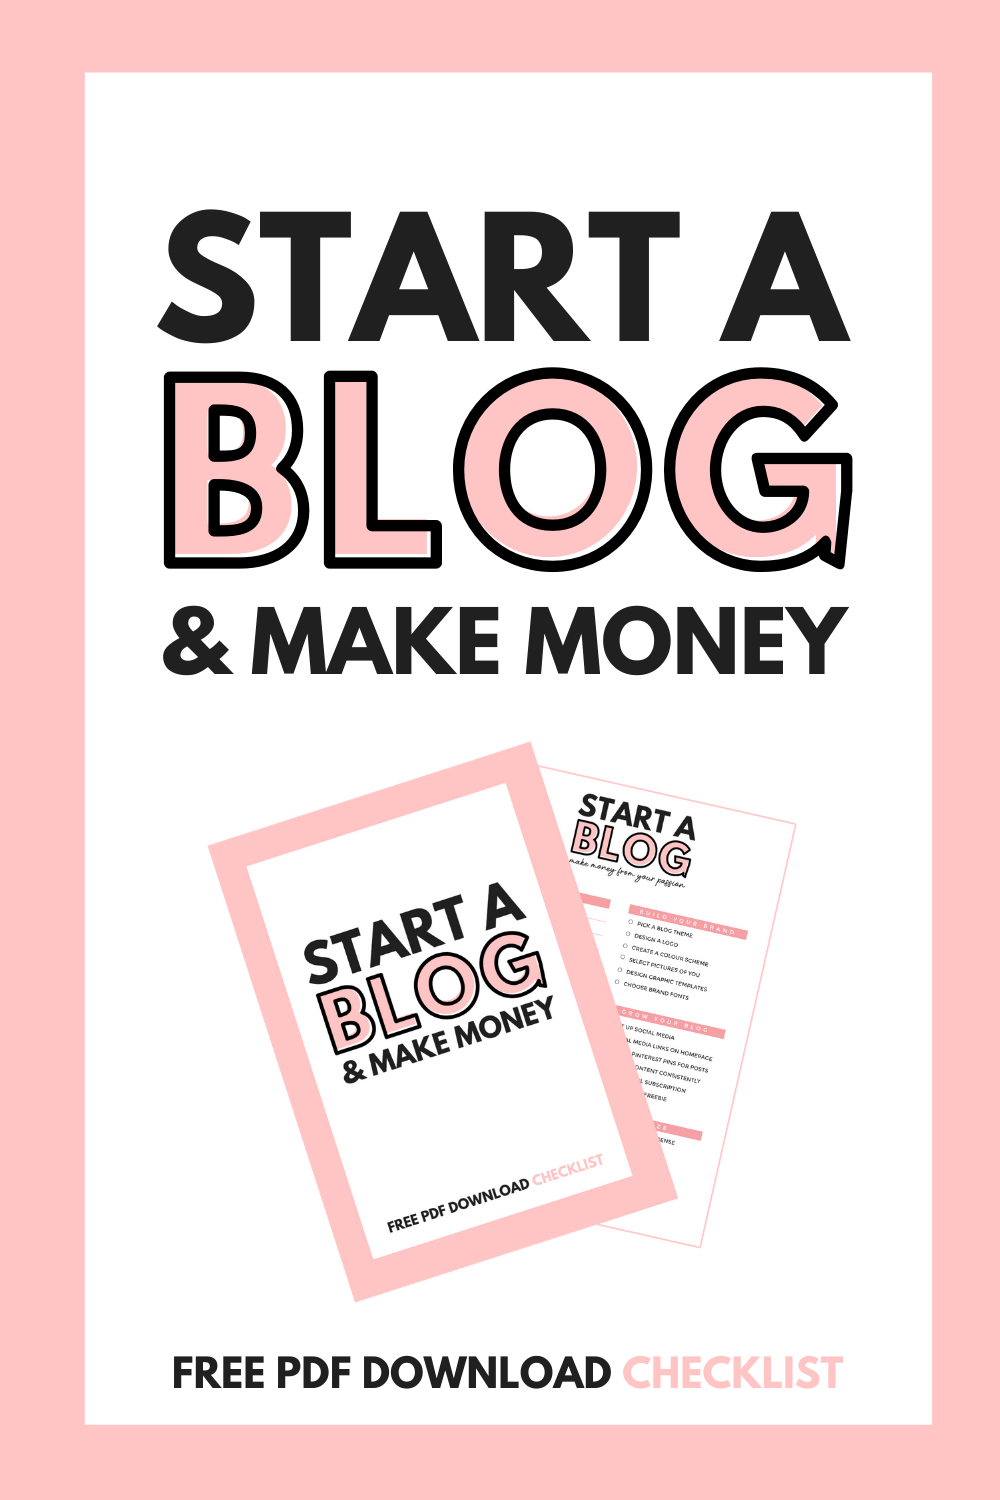
If you click on the Pinterest share tab (it hovers at the bottom of this window), you will see the extra image that I have hidden. If you were to come across this image on Pinterest, you would be linked back to this page.
How To Add Hidden Pinterest Images To A Post
- The first thing you need to do is add your images to your blog post. You can place them anywhere, but it is easier if you place them at the bottom of your post.
- Next, you need to switch to the HTML view of your post editor. In WordPress, this is the tab named ‘text’ which is next to the ‘visual’ tab. I believe there is a ‘HTML’ tab in Blogger.
- Locate where the image is that you would like to hide and add the following code to your image code:
<div style=”display: none;”>Image here</div>
- Now, when you revert back to the standard editor mode, your image will disappear and won’t be visible when published!
Your image should make potential readers want to visit your blog. Pinterest can be a great way to drive traffic to your blog, therefore you should create images that will make people want to read your content.
Let me know if this has been helpful!
Feel free to leave any suggestions for any future blogging guides you would like to see.
Read more:
- Check out ALL my » Blogger Resources «
- How To Center Align Social Media Embed Posts







4 Comments
These are good tips!!!
http://sugarcoatedbears.blogspot.com/
Thanks for reading Courtney xx
Thank you so much for posting this! I look forward to using this on my blog!! xx…cant wait..xx!!!
Glad it was helpful Erin! xx